1 scoby per fermentation jar, homemade or purchased online
Make the tea base: Bring the water to a boil. Remove from heat and stir in the sugar to dissolve. Drop in the tea and allow it to steep until the water has cooled. Depending on the size of your pot, this will take a few hours.
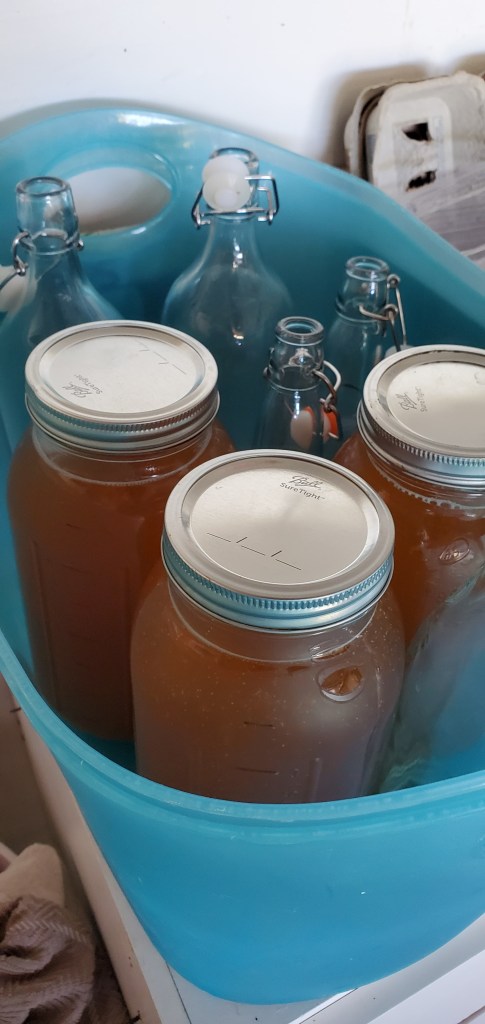
Combine with starter liquid and scoby : Pour the mixture into a 1-gallon glass jar Cover the mouth of the jar with a few layers tightly-woven cloth, coffee filters, or paper towels secured with a rubber band.
Ferment for 7 to 10 days: Keep the jar at room temperature, out of direct sunlight, and where it won’t get jostled. Ferment for 7 to 10 days, checking the kombucha and the scoby periodically.
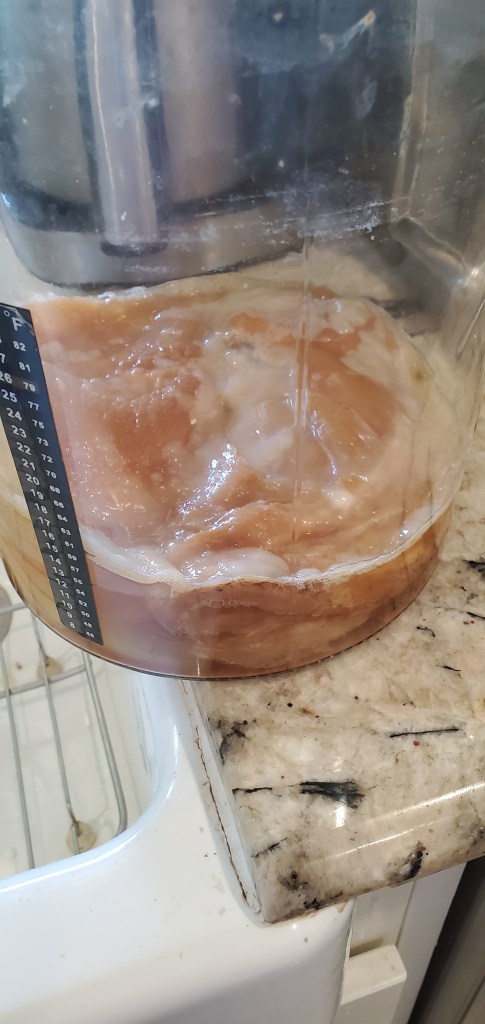
It’s not unusual for the scoby to float at the top, bottom, or even sideways during fermentation. A new cream-colored layer of scoby should start forming on the surface of the kombucha within a few days. It usually attaches to the old scoby, but it’s ok if they separate. You may also see brown stringy bits floating beneath the scoby, sediment collecting at the bottom, and bubbles collecting around the scoby. This is all normal and signs of healthy fermentation.
After 7 days, begin tasting the kombucha daily by pouring a little out of the jar and into a cup. When it reaches a balance of sweetness and tartness that is pleasant to you, the kombucha is ready to bottle.
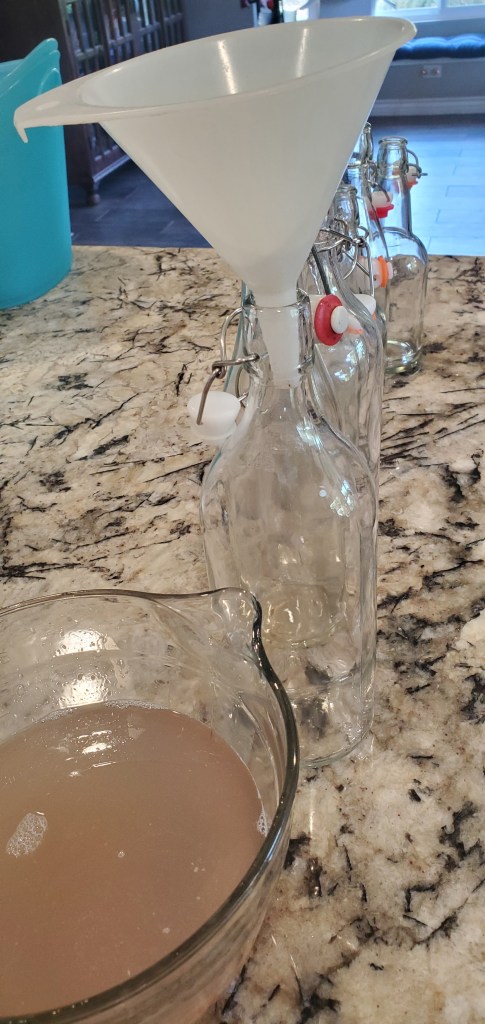
Bottle the finished kombucha: Pour the fermented kombucha (straining, if desired) into bottles using the small funnel, along with any juice, herbs, or fruit you may want to use as flavoring. Leave about a half inch of head room in each bottle. (Alternatively, infuse the kombucha with flavorings for a day or two in another covered jar, strain, and then bottle. This makes a cleaner kombucha without “stuff” in it.)
Carbonate and refrigerate the finished kombucha: Store the bottled kombucha at room temperature out of direct sunlight and allow 1 to 3 days for the kombucha to carbonate. Until you get a feel for how quickly your kombucha carbonates, it’s helpful to keep it in plastic bottles; the kombucha is carbonated when the bottles feel rock solid. Refrigerate to stop fermentation and carbonation, and then consume your kombucha within a month.
Make a fresh batch of kombucha: Clean the jar being used for kombucha fermentation. Combine the starter tea from your last batch of kombucha with the fresh batch of sugary tea, and pour it into the fermentation jar. Slide the scoby on top, cover, and ferment for 7 to 10 days.
Scoby and starter liquid
Tea is cooled and ready to be put with starter liquid
For 1 gallon of boozy booch, you will need to brew 14 cups of organic black tea with 8 tea bags in spring (or reverse osmosis) water and 1 cup of organic sugar.
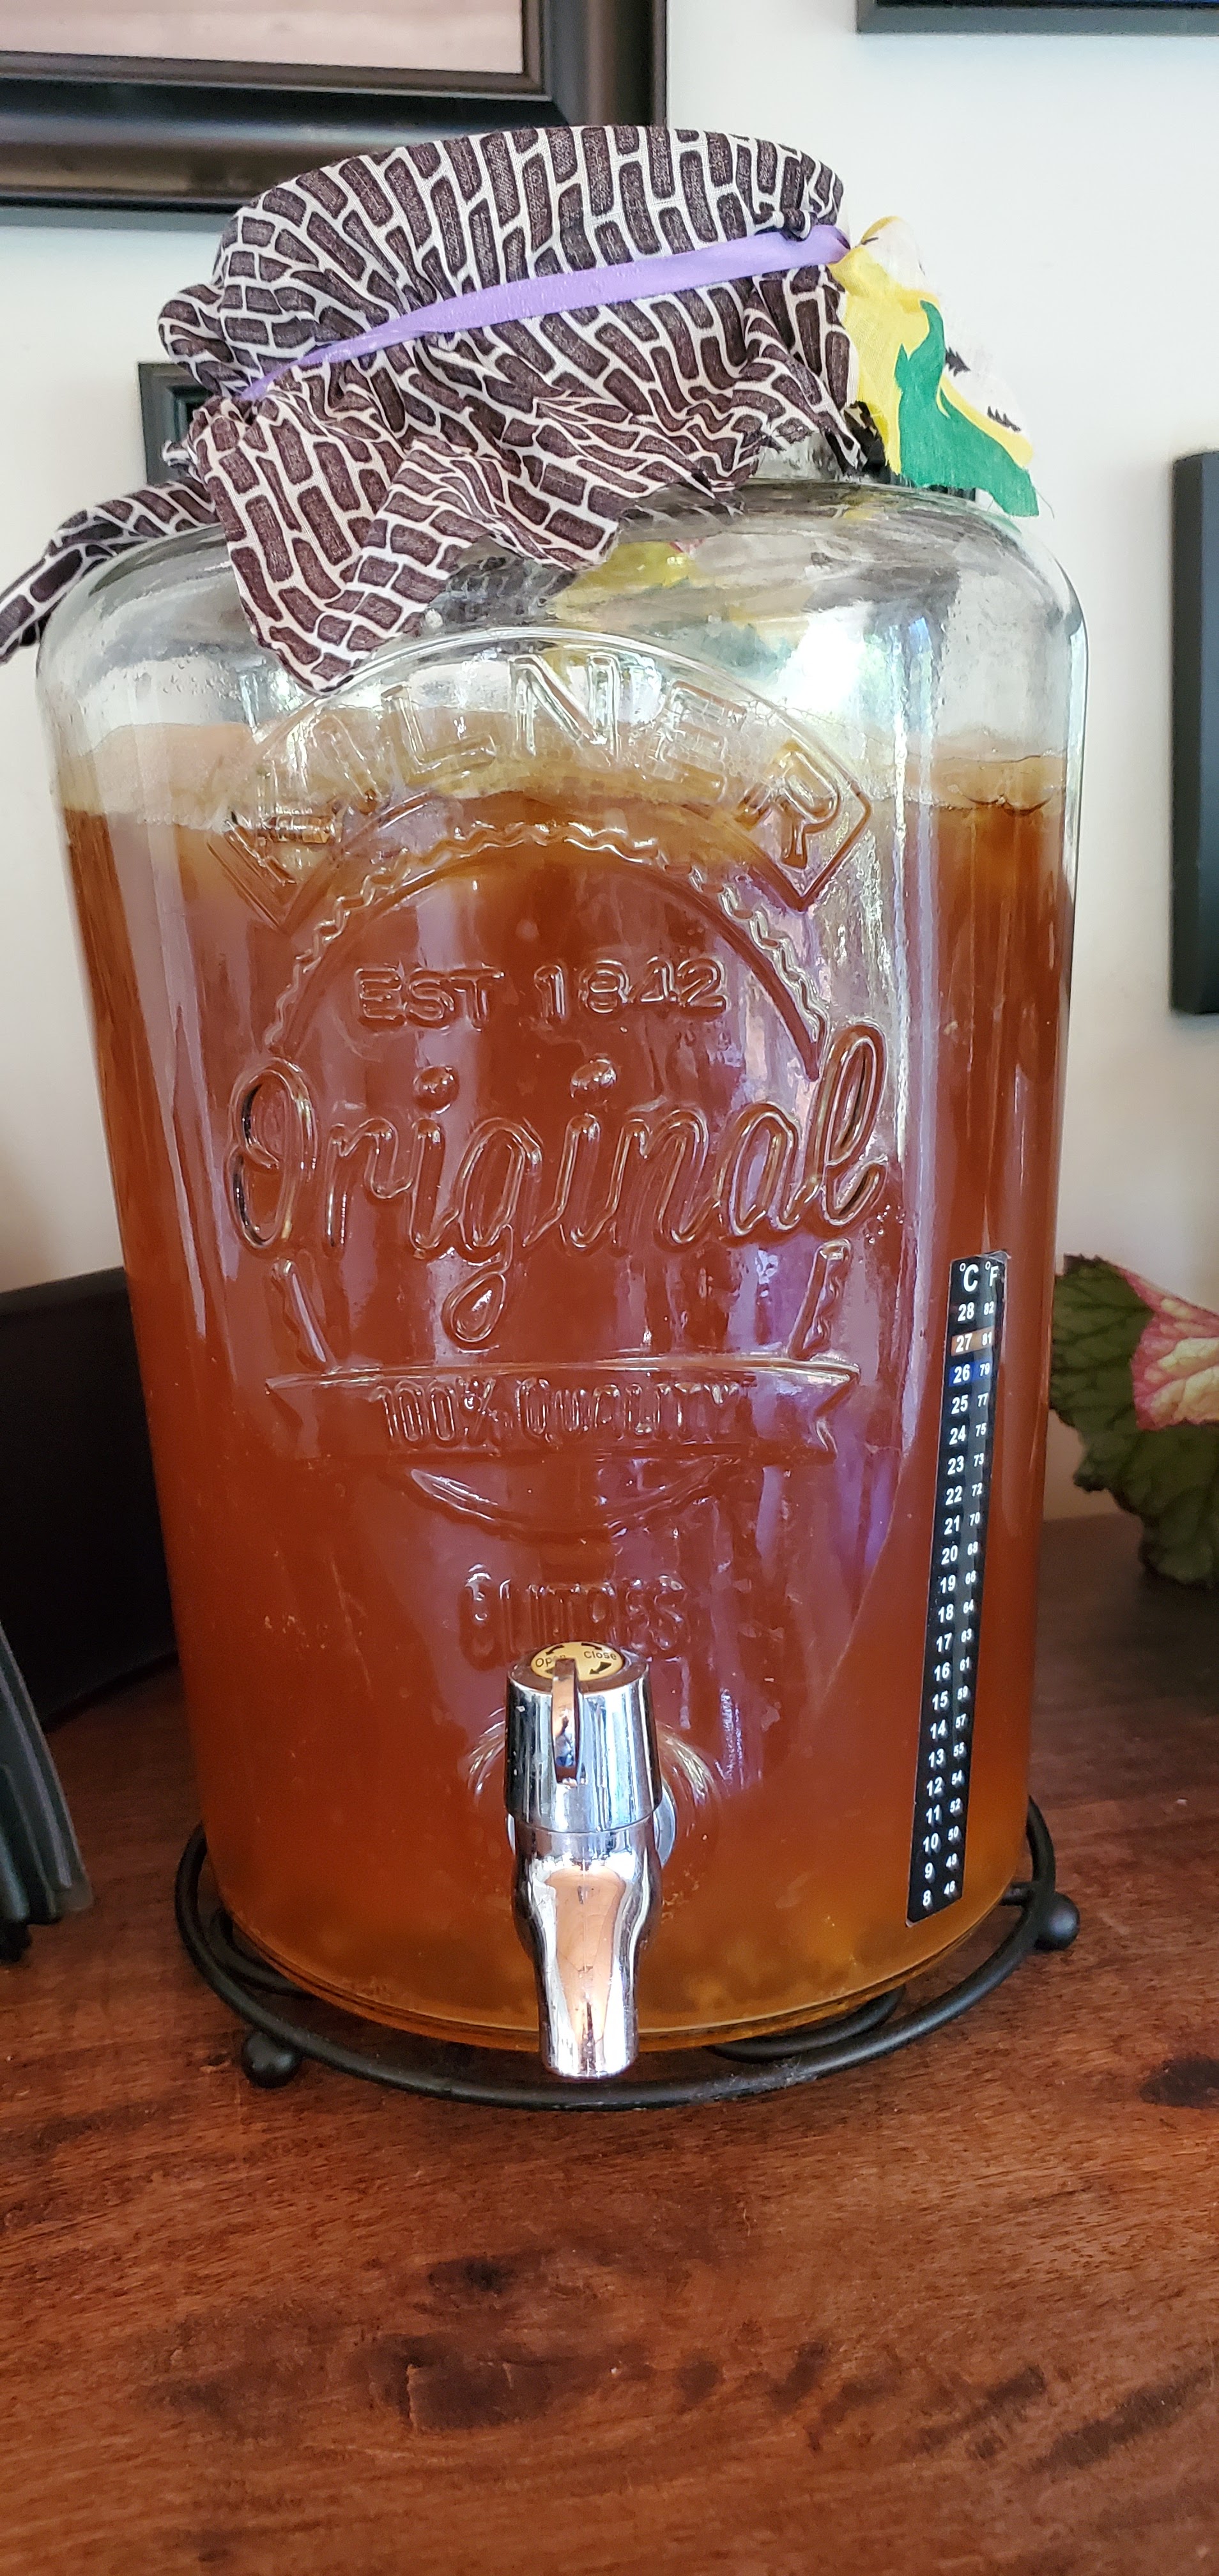
Step 2: Allow the tea to cool before adding in your gallon fermenter. Add your SCOBY and the starter culture liquid that come along with it. Allow to ferment for 10 days with a clean t-shirt or breathable cloth secured over the top to prevent fruit flies from accessing the inside. The fermentation organisms require oxygen flow through the cloth to reproduce and grow more SCOBY and beneficial enzymes/acids.
I use a continuous brewing method
Step 3: Second fermentation time!
After step 2, remove the SCOBY. You essentially have “normal” kombucha with only a trace amount of alcohol. The pH has dropped considerably as more beneficial acids are produced. If it’s too acidic (like vinegar) the second fermentation may not start or complete, so make sure to taste along the way (days 7-10) and catch before it becomes overly sour.
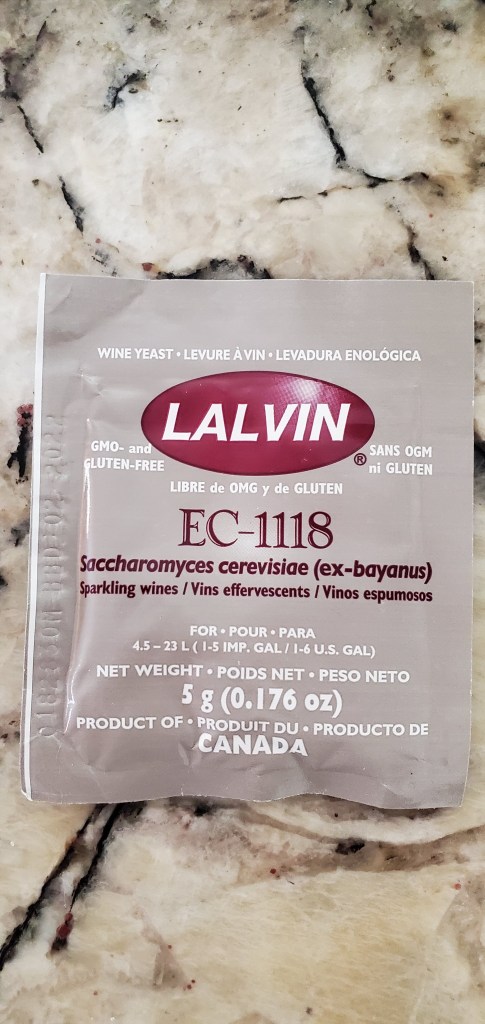
Step 4: For this second round, dissolve 1 cup of organic sugar in 1 cup of warm spring (or RO) water. Once it cools, add ¾ teaspoon of a dehydrated champagne yeast with characteristics that appeal to you.
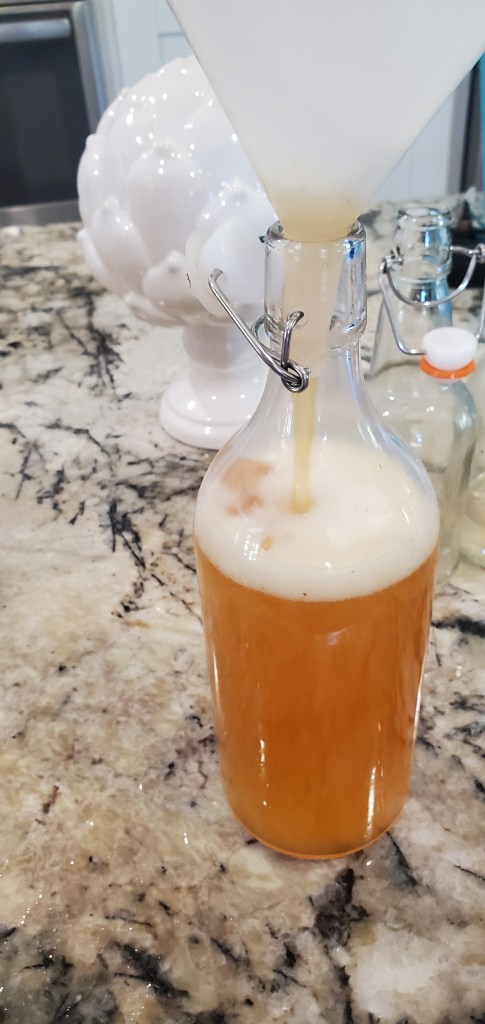
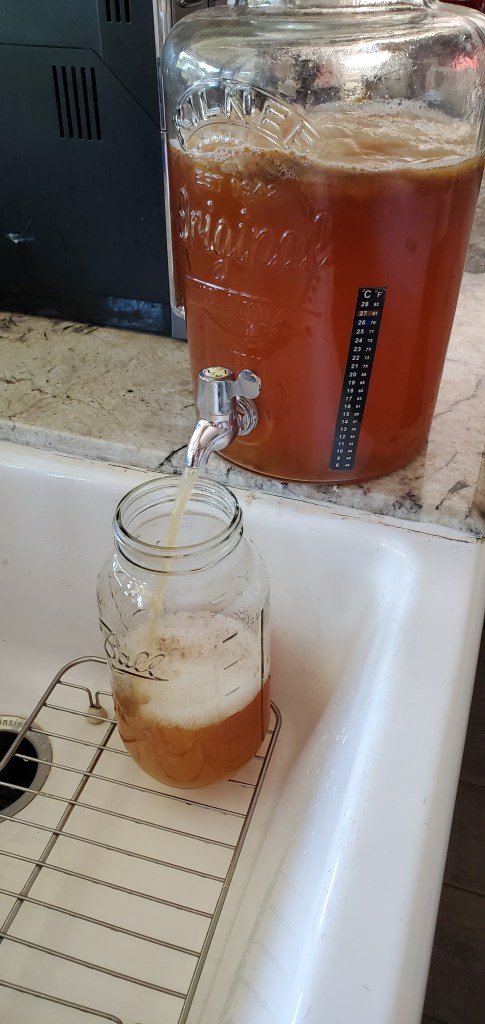
Pouring into bottle
The Yeast
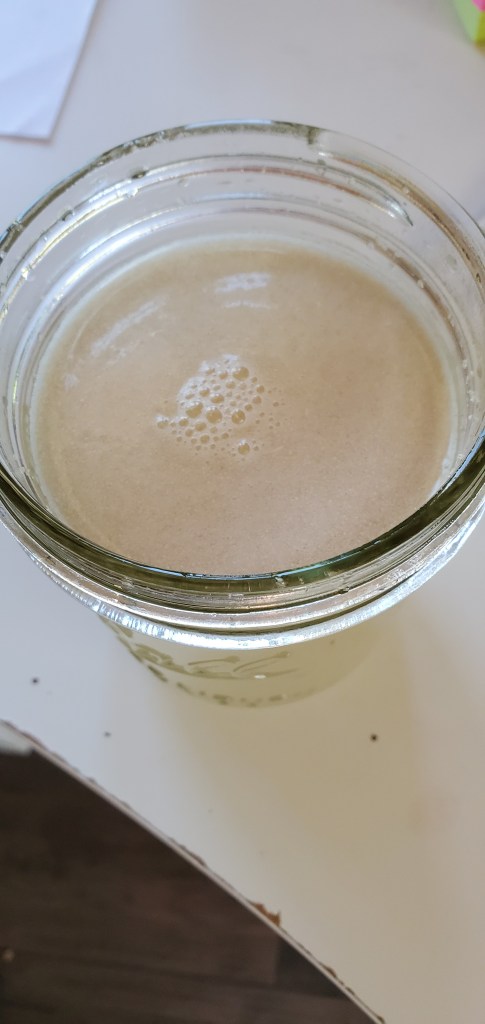
Foaming yeast and sugar h20
Brewing
Within a few minutes the yeast and sugar mixture will begin to foam, this means the yeast has re-awakened from it’s slumber and ready to eat up all the sugars to produce more alcohol. If the yeast does not foam, dump the sugar water into your compost and try again with another packet of yeast. Once you’re happy with your active yeast, add the mixture to your gallon of kombucha and sufficiently stir it in. Adding dry yeast directly into the fermenter without allowing it to rehydrate first will cause it to not achieve it’s foothold against the other active bacteria and yeast who already staked their claim in the environment.
Step 5: Wait for the magic
This time instead of a cloth cover you’ll want to loosely close the lid over the top. The idea is to only allow positive pressure of CO2 to build and escape rather than air entering the vessel. Allow an additional 7-14 fermentation days and store somewhere with relatively consistent temperature and low light while the ABV climbs. You’ll know it’s working when you see bubbles forming and rising to the surface!
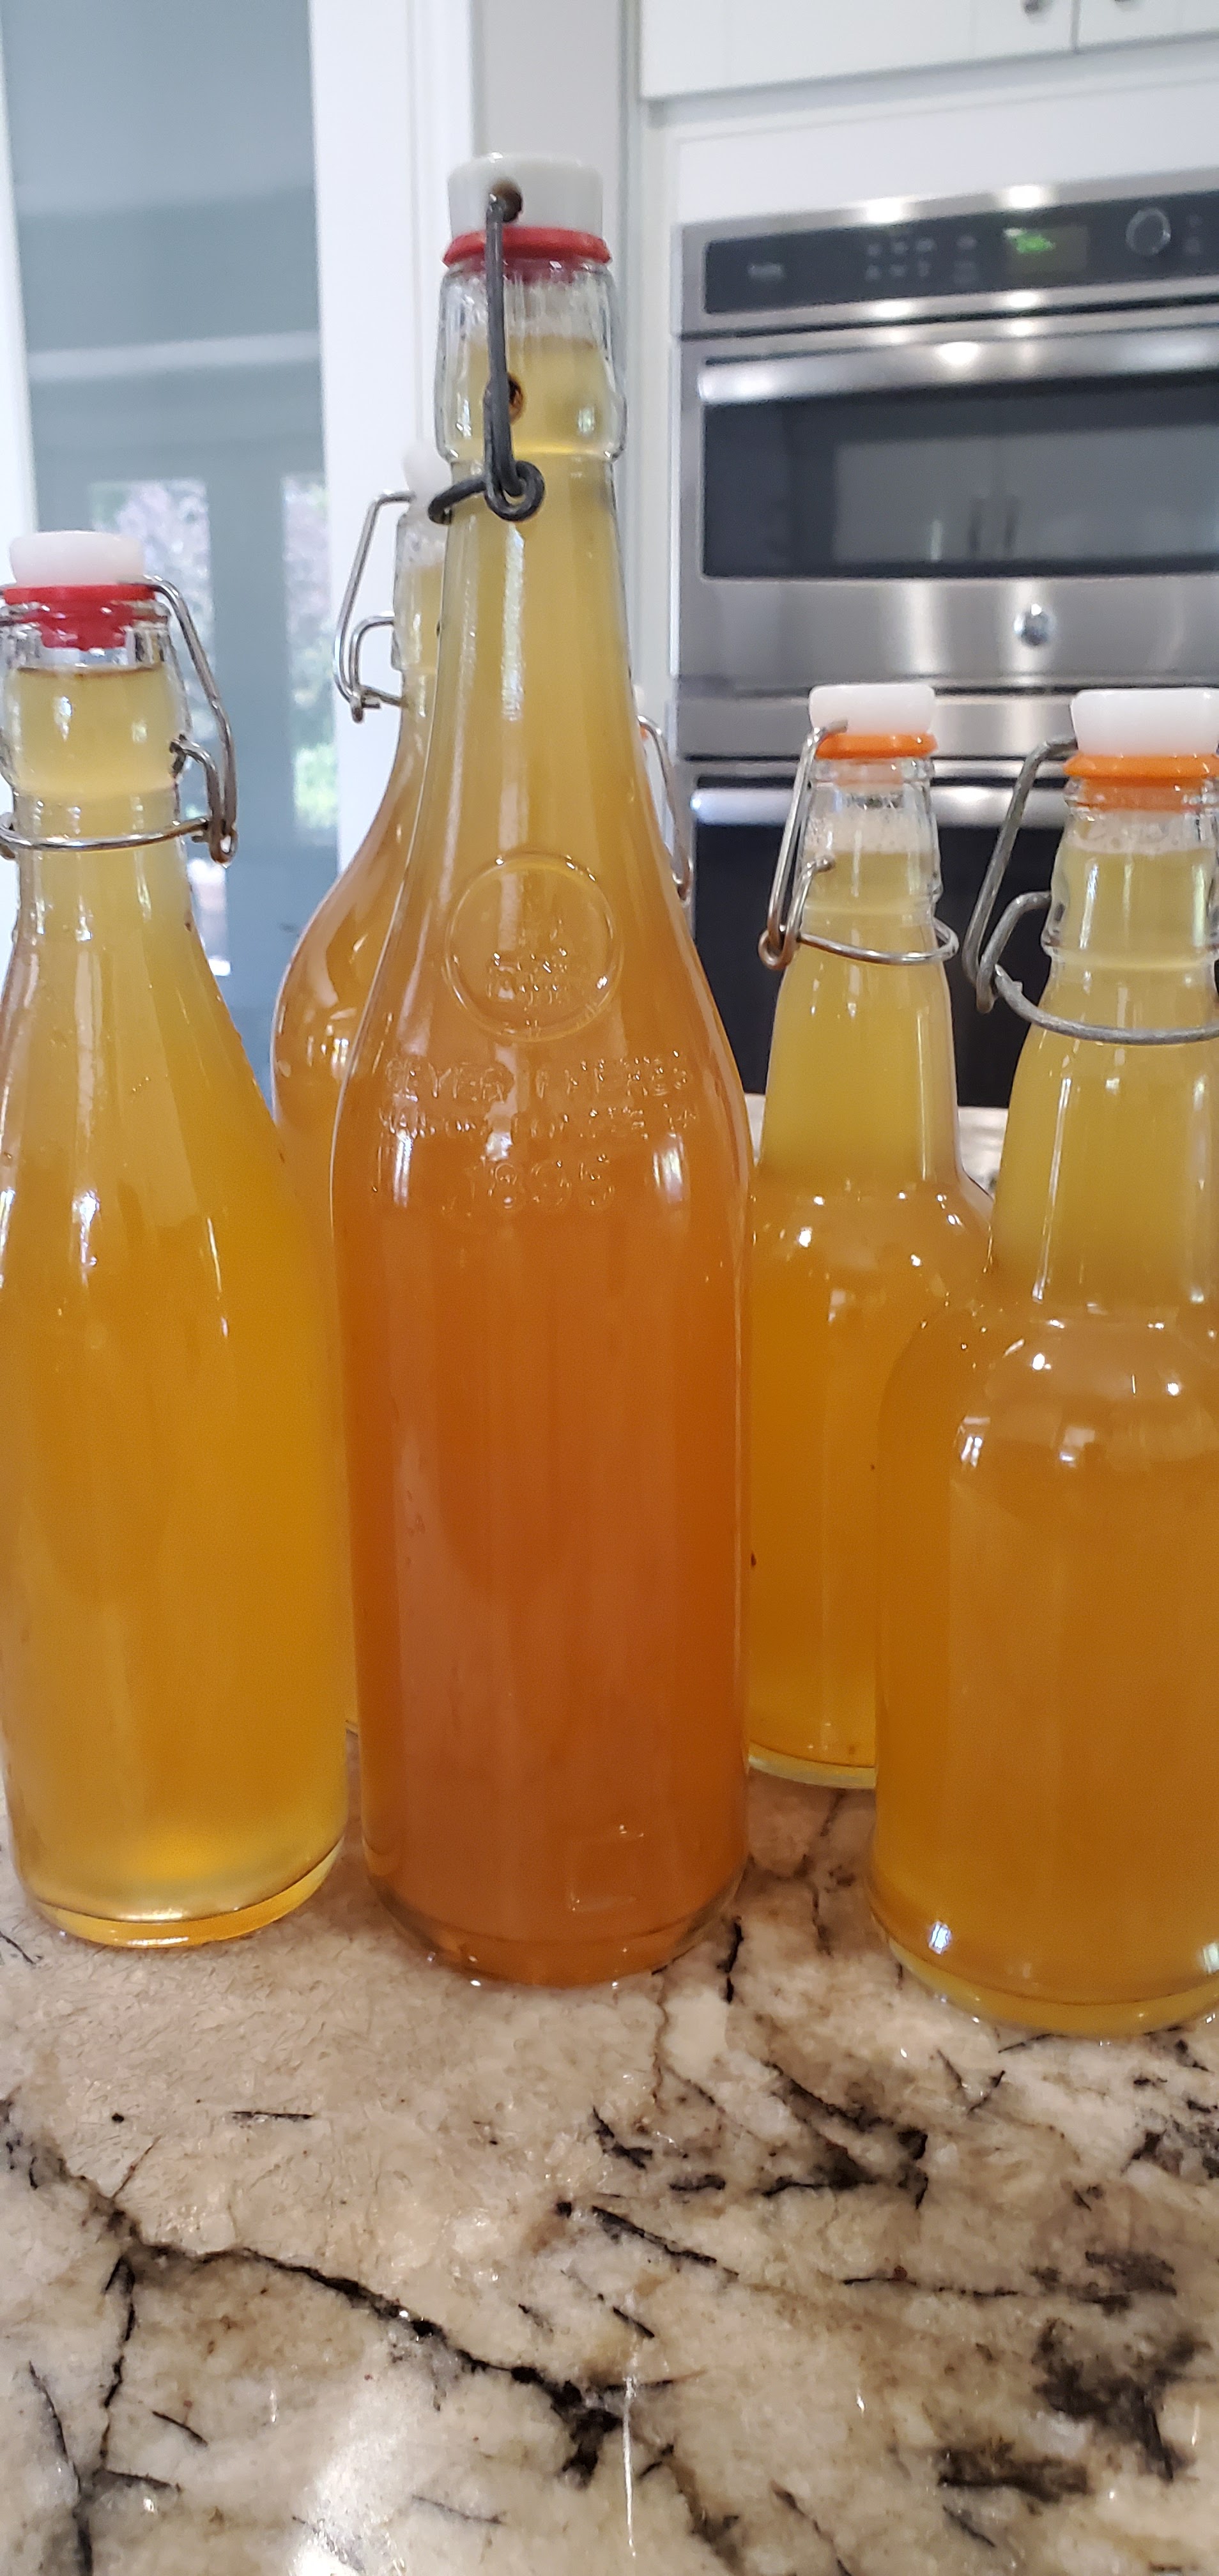
Step 6: Add flavors and bottle
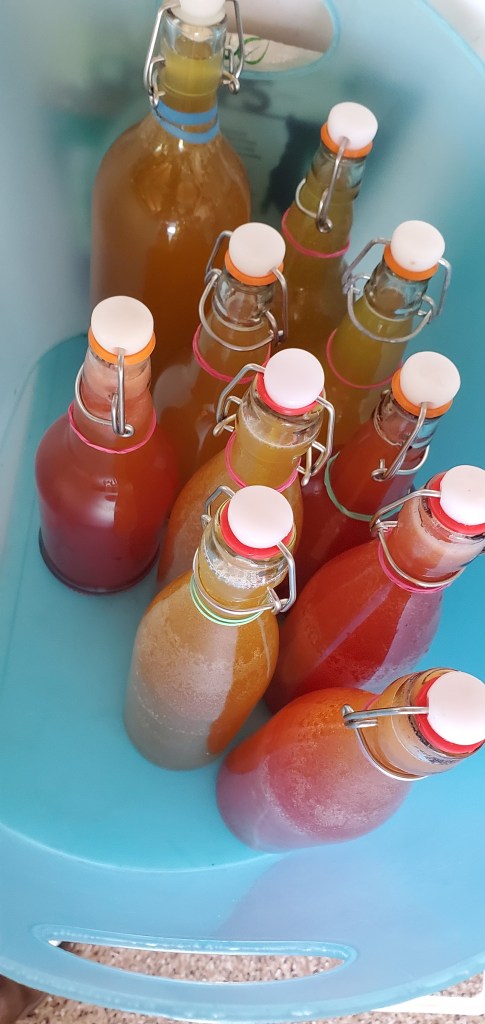
After 7-14 days of second fermentation, it’s time to add flavors! Give it a taste first and notice how dry and boozy it is before deciding your juice additions to balance it out. Add any organic fruit juices that you’d like. As a final step, you’ll want to pour the jug of booch into smaller, single serve bottles.
Pour about 1/2 in into bottle
Fill bottle up with Brew
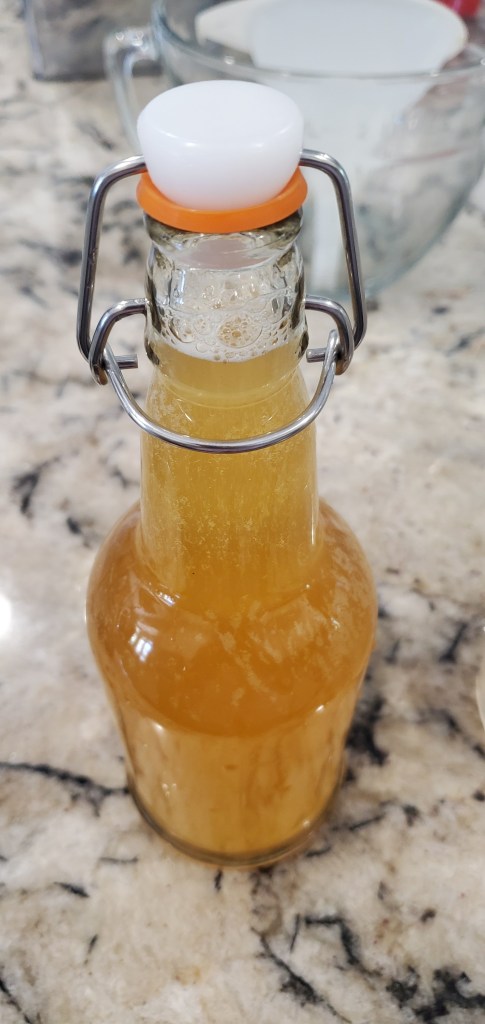
Seal
Put in Flavor (I used Lemon & Lavender), Pour into bottle, and Seal
Step 6: Bottle condition
By using a little bit of extra juice the sugars will continue to ferment and trap the carbonation in the bottles for the delicious zippiness we all love that helps unlock the aromas and flavors of the finished product. Leave the bottles at room temp for 24-48 hours to build carbonation, then store them the fridge before they get too fizzy!
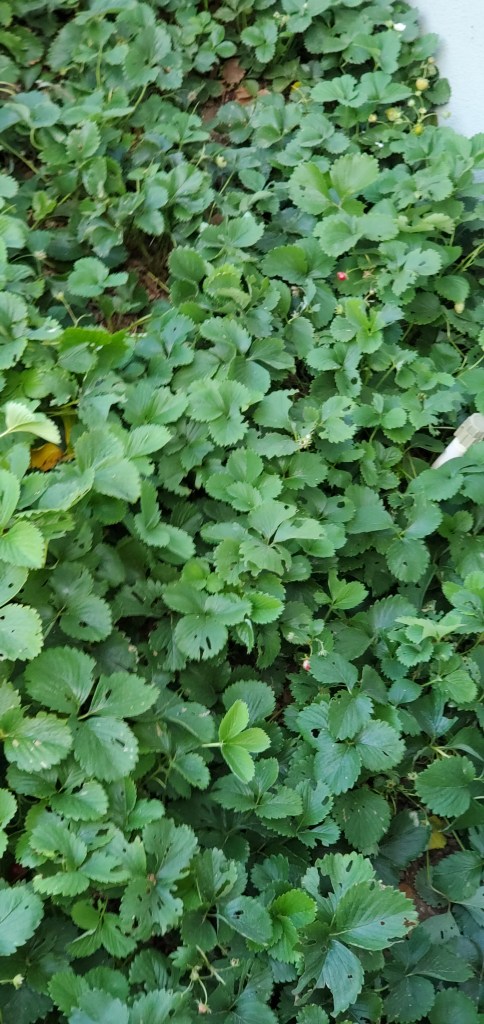
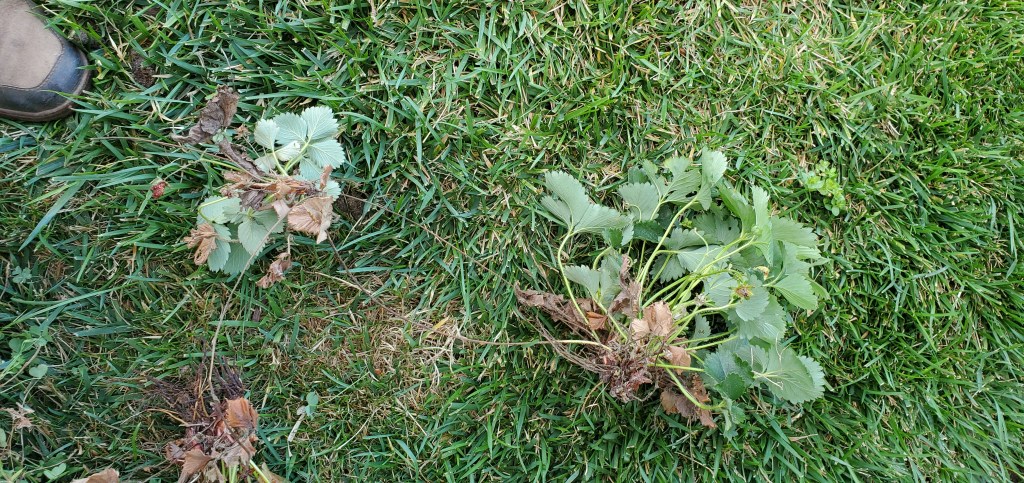
I am not sure if you know this but your strawberry plant is an aggressive grower that is harty and easy to grow. I put these plants in on the side of the house and they are at the point to where I need to seperate them to give them more room to grow.
break up the bunches
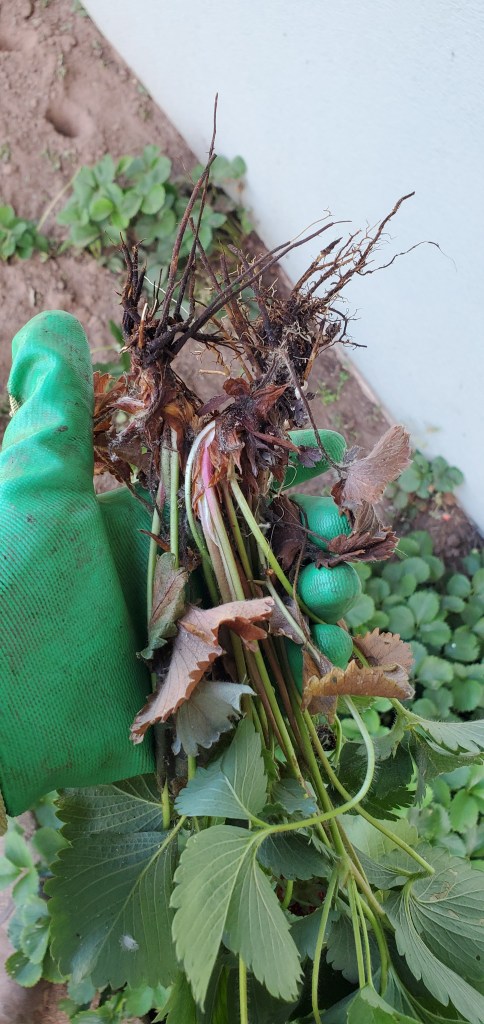
You can see that the plants are to crowded you need to break them apart making sure that you have some roots .
Then dig new holes and fill them . In no time you will see your plants growing. Keep in mind that strawberries prefer to reside on mounds . They do not like to get there leaves wet and the fruit will mold if it gets to wet. I have placed these without mounds because I am using them mostly for ground cover.
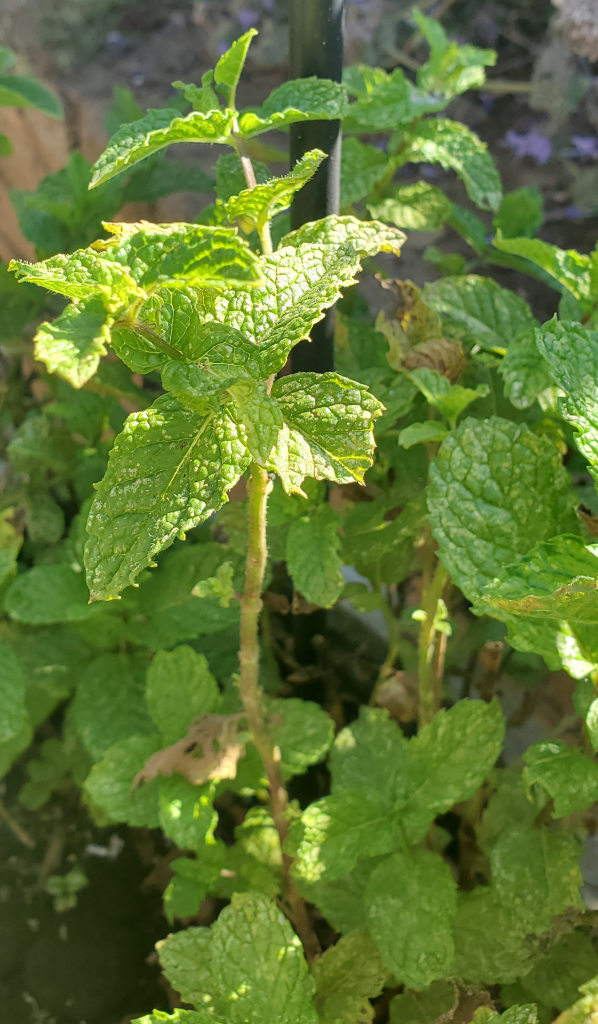
With the summer in full swing I thought it would be fun to combine my love of herbs with ice cream. One of my favorites as a kid was mint chip . This recipe turned out to have a definite herbal flavor and was not as sweet as the traditional. The chocolate flakes were the star for certain.
Fresh Mint Chip Ice Cream
1 pt. heavy cream
1 cup low-fat milk (1%)
1/4 teaspoon kosher salt
30 large fresh mint leaves, plus 2 tbsp. finely chopped leaves
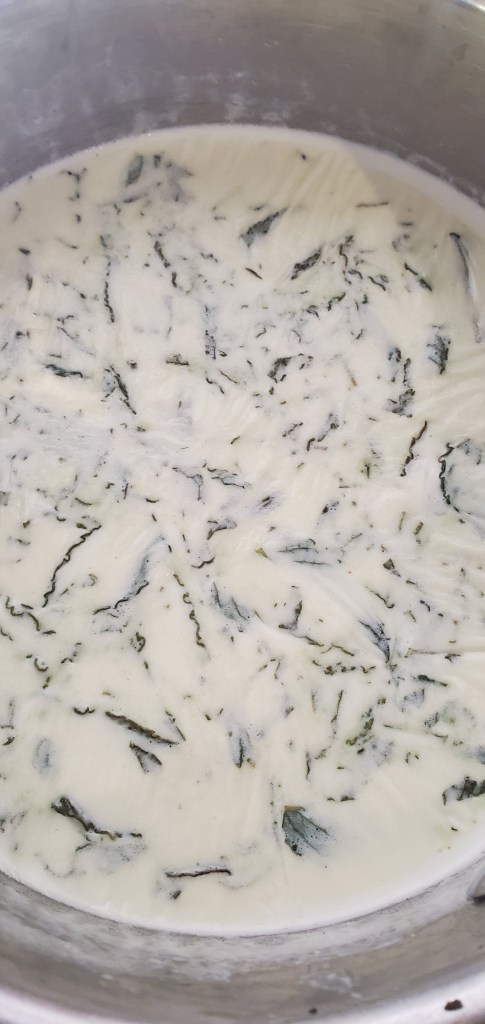
Combine cream, milk, and salt in a medium heavy-bottomed saucepan. Cook over medium-high heat until simmering. Add mint leaves. Remove from heat, cover, and let steep at least 30 minutes, until the cream has a clear mint flavor.
2. When mixture is ready, whisk yolks and sugar together in a medium bowl (don’t do this ahead, as the sugar will “set” the yolks). Drizzle 1/2 cup cream mixture into eggs, whisking constantly. Whisk in rest of cream, 1/2 cup at a time. Pour mixture back into saucepan. Cook over medium heat, stirring constantly with a wooden spoon, until mixture thickens slightly and coats the spoon, 3 to 4 minutes; be careful not to overcook, or you’ll scramble the yolks.
3. Pour custard through a fine-mesh strainer into a clean bowl; discard mint. Set bowl in a larger bowl of ice and cold water and let cool completely. Remove from ice bath and chill, covered, at least 2 hours and up to overnight.
4. Chop chocolate, put in a glass bowl, and microwave in 15-second bursts until halfway melted. Remove and stir until completely melted. Line a baking sheet with parchment paper and spread chocolate evenly over parchment. Put in freezer. Once cold, break chocolate into quarter-size pieces and freeze until ready to use.
5. Freeze custard in an ice cream maker according to manufacturer’s instructions. In the last minute of churning, add the chocolate and chopped mint. Eat right away or, for a firmer ice cream, freeze at least 4 hours.
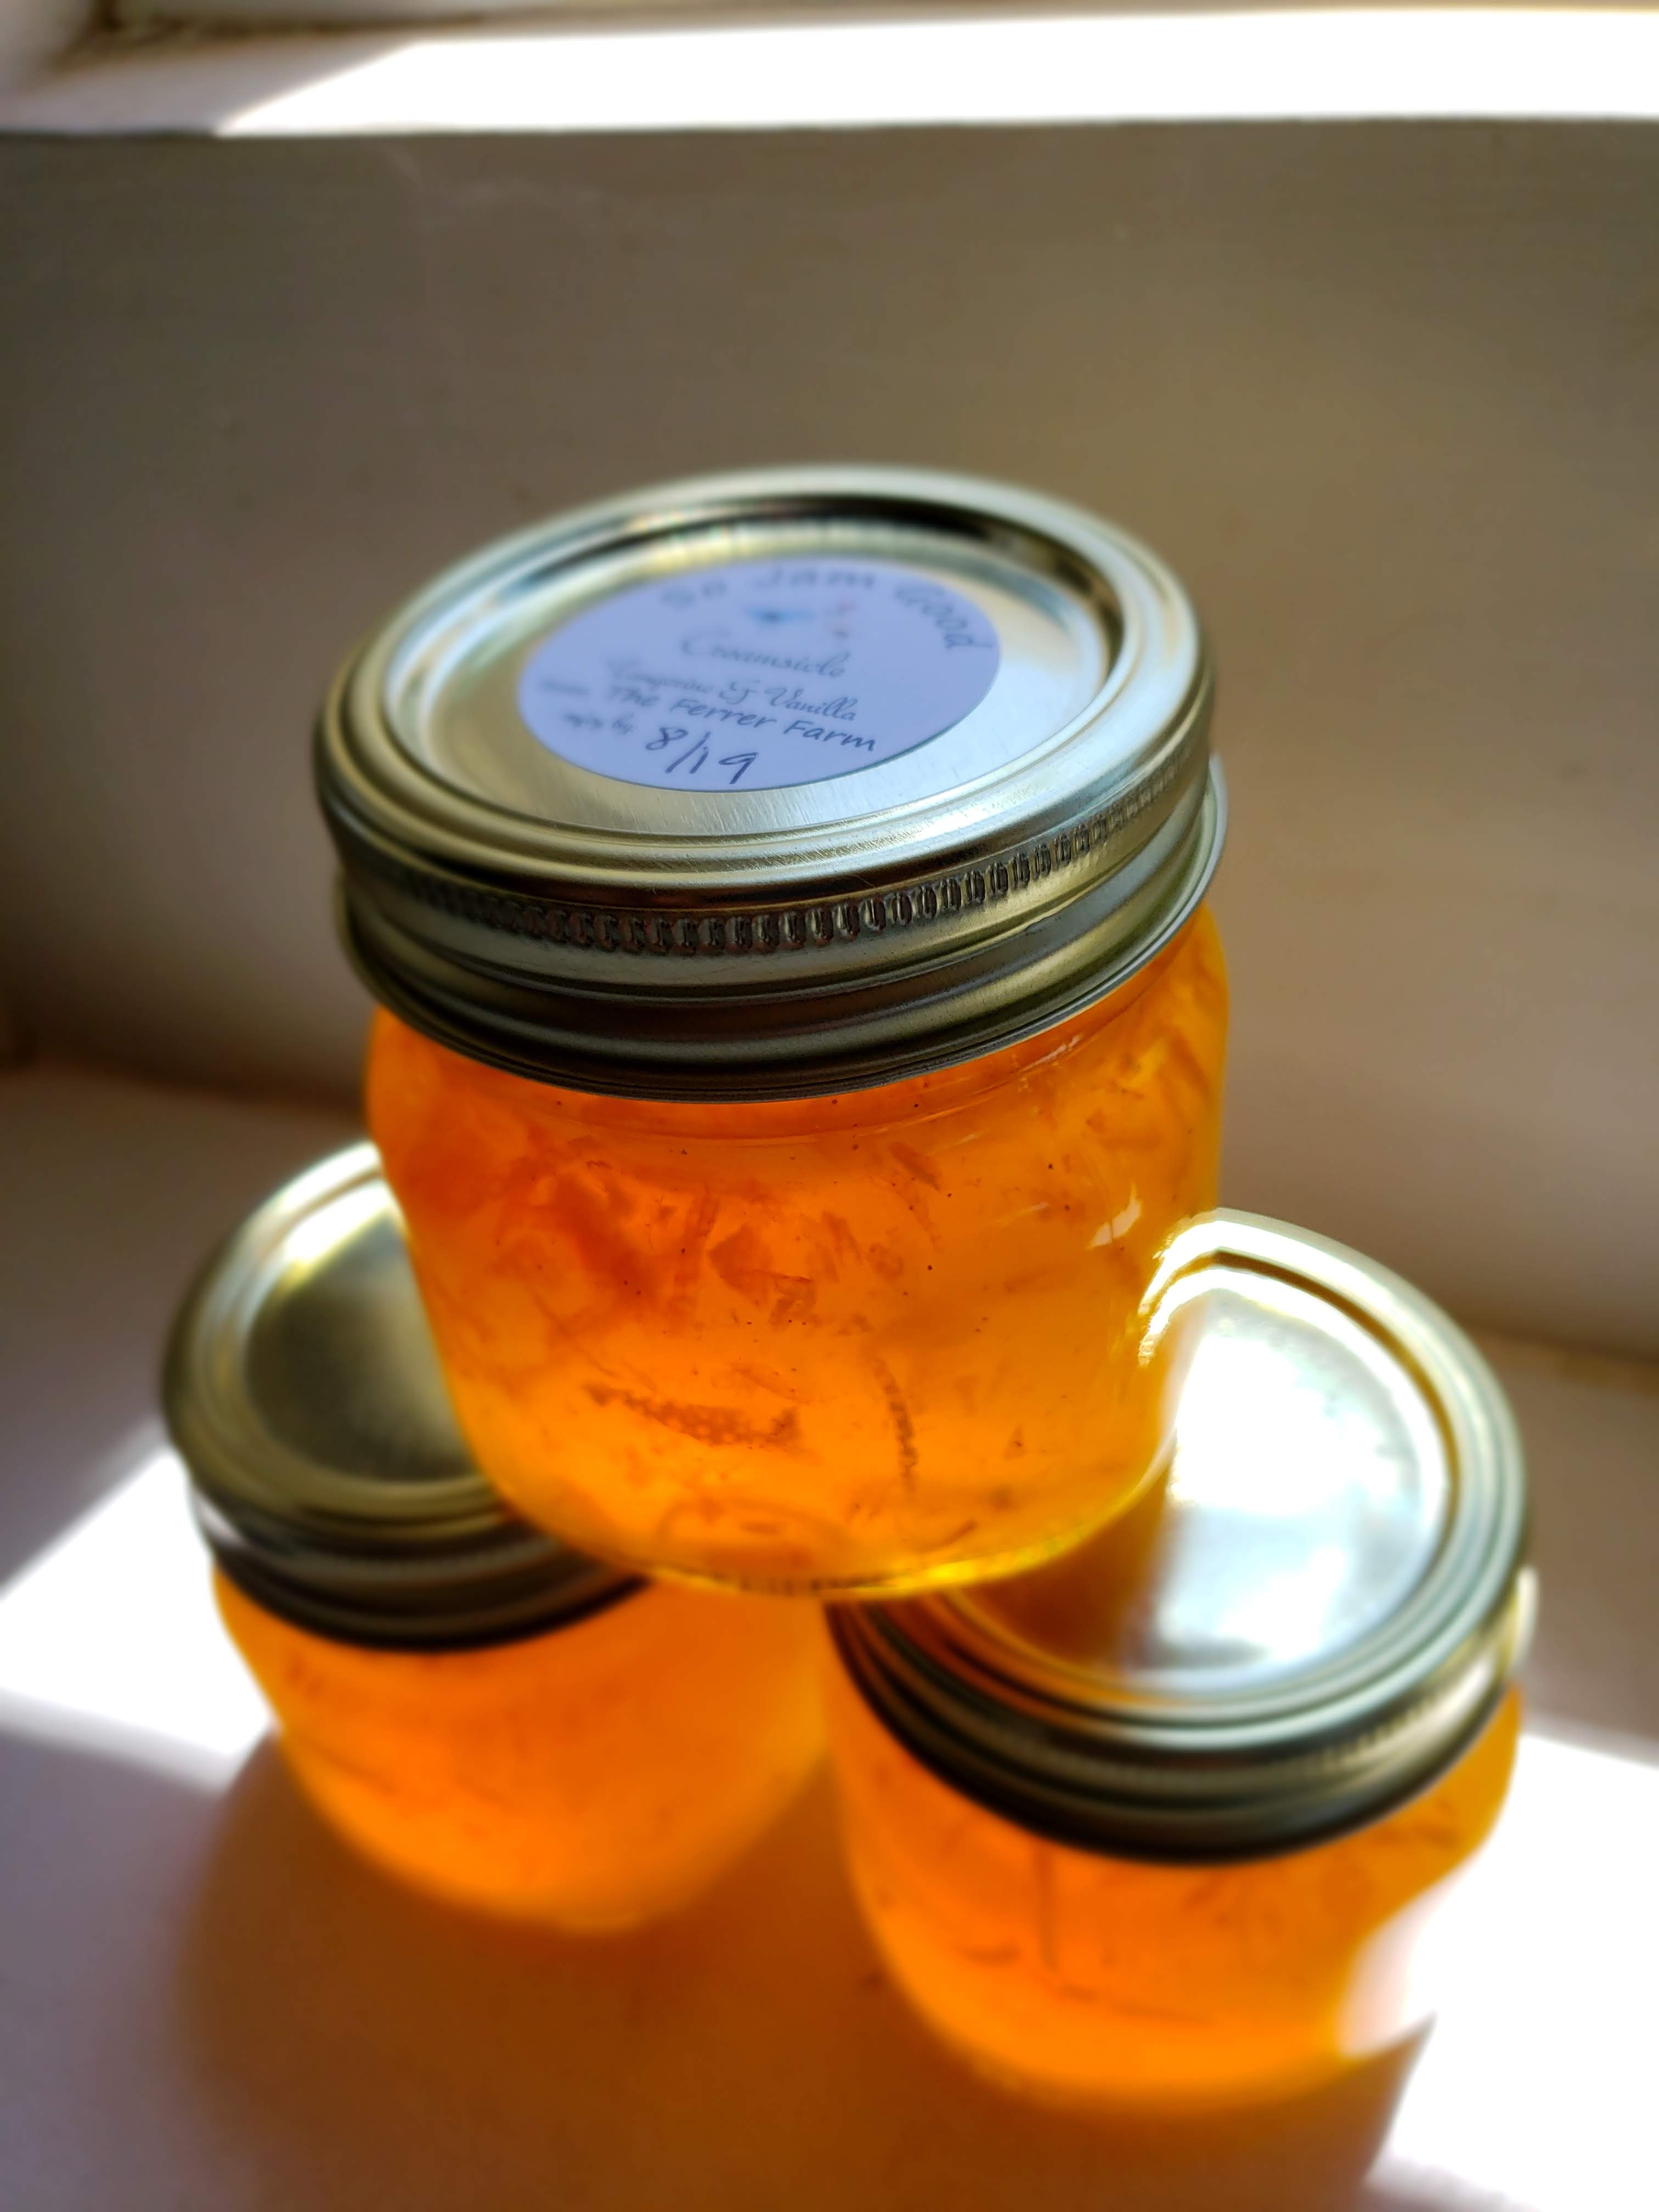
With the end of our picking season on the oranges . I was able to squeeze in my last batch of Creamsicle. With this Flavor I take our oranges and juice them along with the peel that I chop finely being careful not to include the pith .
With the oranges completed, I need to add my sugar, pectin and vanilla bean. I am very generous with the vanilla bean and I think that is what gives it the creamsicle flavor. Enjoy.


 With the end of our picking season on the oranges . I was able to squeeze in my last batch of Creamsicle. With this Flavor I take our oranges and juice them along with the peel that I chop finely being careful not to include the pith .


